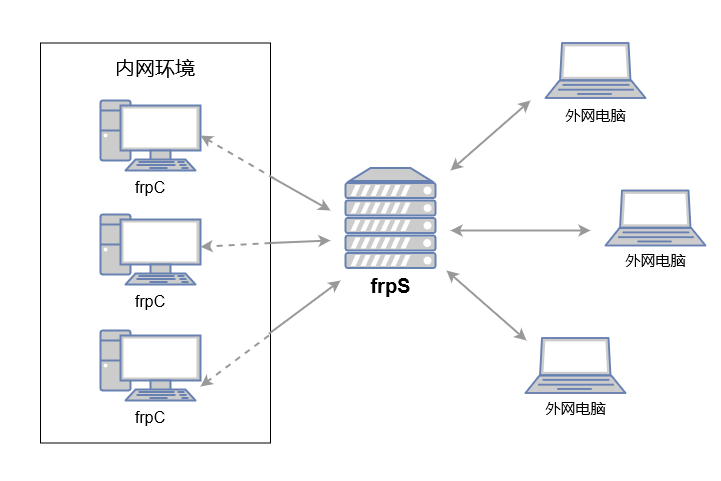
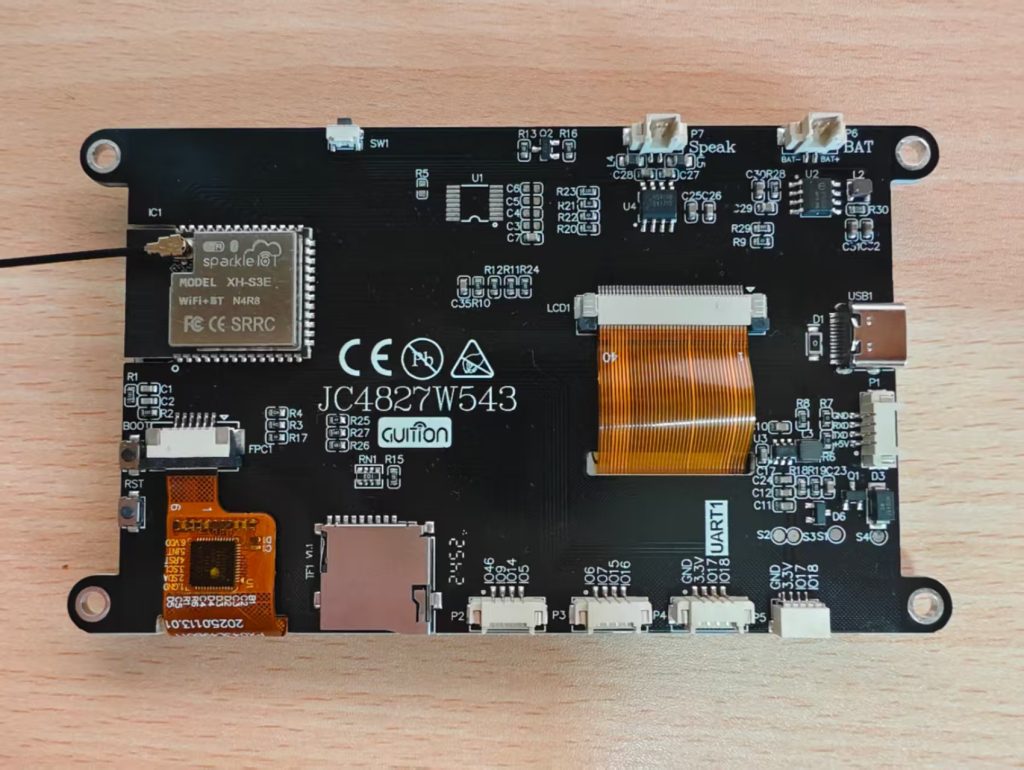
买了GMK-K8这个盒子后,用途感觉越来越少了。。我想,一个主要的原因就是没有从家里面穿透出去。如果外界可以便捷的访问到这个,然后速率还不错的话。那可真的无敌了。32G+1T,足够碾压绝大多数的买的服务器。后续组一组nas啊什么的都感觉是绰绰有余的。

虽然现在有0个好用的项目部署,不过的话,先有这个能力还是重要的。
询问和比较之后,应该有一个0元的方案:Cloudflare Dashboard 管理 Tunnel,下面记录一下整个流程
原理就是这个tunnel,相当于一直长连接Cloudflare Dashboard,然后别人访问域名就转发过来,所以可以的。
Start
注册Cloudfare
这个用github貌似都可以。用Google or github账号注册一下。
注册完成后就可以直接进入主页了
申请域名
这个要找一找,腾讯云啊,阿里云啊,或者就在cloudflare里面都好
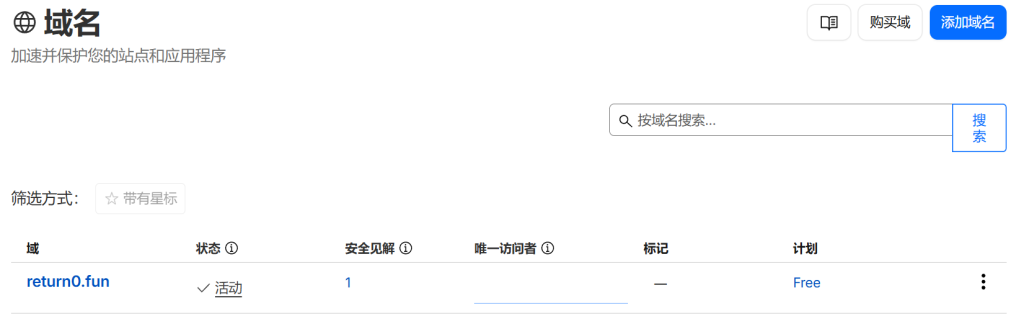
添加域名
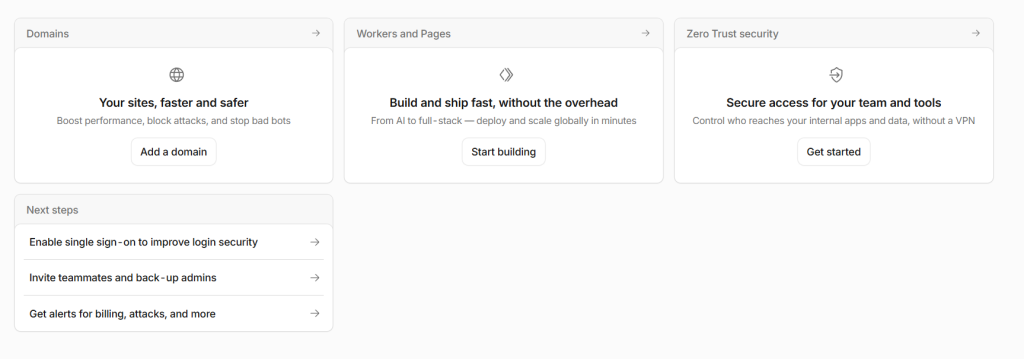
在这个里面add a domain。然后的话,如果是其它平台的,需要改一下nameserver,按照下面的提示去修改。
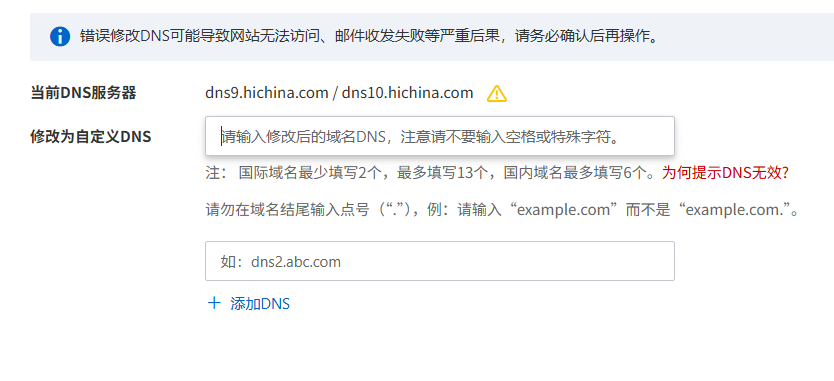
修改DNS服务器为官方给的那两个,按照顺序填就好了
Zero Trust
回到主页,来到零信任安全。如果你是有国外银行卡,那么就直接然后美美配置0元套餐就好了。可是我没有
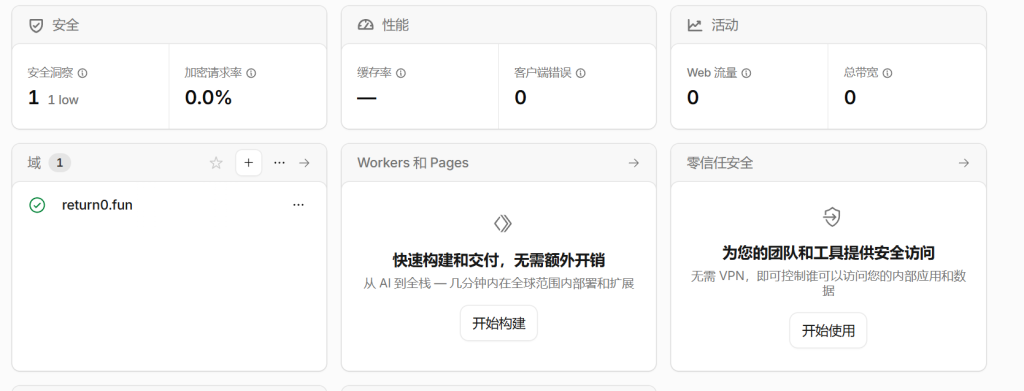
所以还是走命令行:
在家里服务器 SSH 进去,执行:
sudo mkdir -p --mode=0755 /usr/share/keyrings

curl -fsSL https://pkg.cloudflare.com/cloudflare-main.gpg | sudo tee /usr/share/keyrings/cloudflare-main.gpg >/dev/null

echo "deb [signed-by=/usr/share/keyrings/cloudflare-main.gpg] https://pkg.cloudflare.com/cloudflared any main" | sudo tee /etc/apt/sources.list.d/cloudflared.list

sudo apt-get update
sudo apt-get install -y cloudflared
完成后,看一下version
cloudflared --version没有问题之后,开始login:
cloudflared tunnel login这时候出来一个url,浏览器打开,选择一下域名,然后配置成功
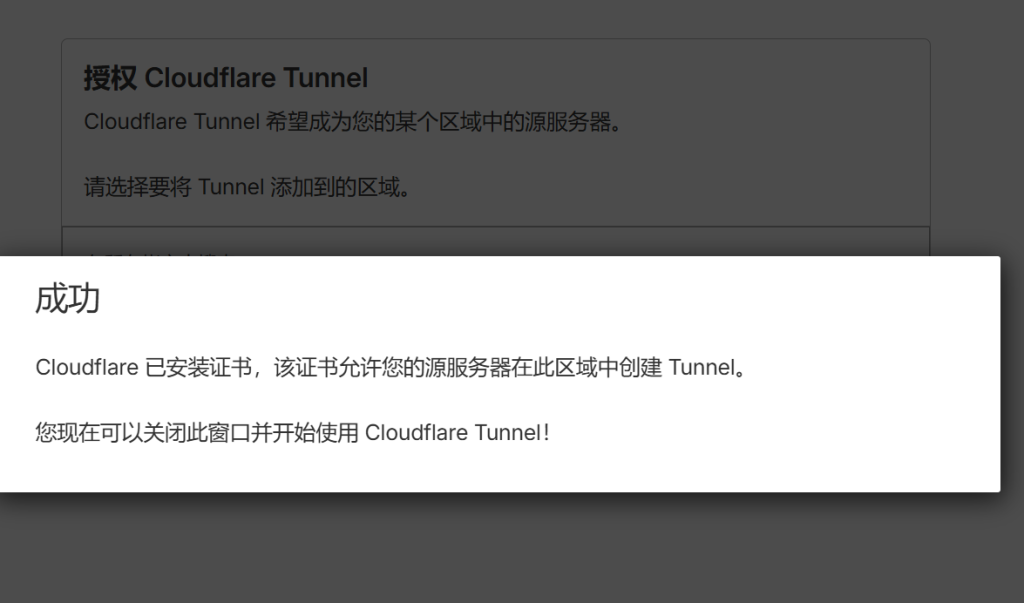
服务器对应的生成pem文件

接着,创建tunnel
cloudflared tunnel create home-server会得到一个json,把这个json前面一长串全部复制一下,还有uuid,然后可以选择自己需要的服务去暴露。如果没有的话,就先一个临时python就好
mkdir -p ~/tunnel-test
echo "Cloudflare Tunnel OK" > ~/tunnel-test/index.html
cd ~/tunnel-test
python3 -m http.server 8080
最后,编写一下tunnel文件
nano ~/.cloudflared/config.yml下面的按要求填写一下
tunnel: 你的Tunnel-UUID
credentials-file: /home/你的Linux用户名/.cloudflared/你的Tunnel-UUID.json

ingress:
  - hostname: test.你的域名.com
    service: http://localhost:8080

  - service: http_status:404
接着,创建DNS路由
cloudflared tunnel route dns home-server test.你的域名.com完成后创建一条 CNAME,指向你的 Tunnel。
验证配置
cloudflared tunnel ingress validate没有问题的话会输出ok
然后测试一下,在前台输入
cloudflared tunnel run home-server最后在别的浏览器打开你的域名
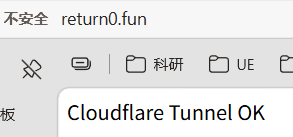
ok一切正常,没有问题了
配置自启动
sudo cloudflared --config "$HOME/.cloudflared/config.yml" service install
sudo systemctl start cloudflared
sudo systemctl status cloudflared
添加你的真实服务
测试域名成功后,你可以添加 Home Assistant、NAS、博客等。
编辑配置:
nano ~/.cloudflared/config.yml
比如 Home Assistant:
tunnel: 你的Tunnel-UUID
credentials-file: /home/你的Linux用户名/.cloudflared/你的Tunnel-UUID.json

ingress:
  - hostname: test.你的域名.com
    service: http://localhost:8080

  - hostname: ha.你的域名.com
    service: http://localhost:8123

  - service: http_status:404
然后给 ha.你的域名.com 创建 DNS 路由:
cloudflared tunnel route dns home-server ha.你的域名.com
重启 Tunnel:
sudo systemctl restart cloudflared
访问:
https://ha.你的域名.com
如果你的 NAS 在另一台局域网设备,比如:
192.168.1.10:5000
就写:
  - hostname: nas.你的域名.com
    service: http://192.168.1.10:5000
再执行:
cloudflared tunnel route dns home-server nas.你的域名.com
sudo systemctl restart cloudflared
OK啦,可以用了